[ad_1]
If you have a folder containing countless files of different formats, you can follow this guide to sort Files by Extensions into a separate Folder in Windows 11/10. No third-party app is needed since you can do it with the help of a BAT file.

Let’s assume that you have hundreds of files of various file formats in one folder on your computer. For obvious reasons, it is quite difficult to deal with all those files if you want to categorize them. In such situations, you can create folders by file extensions.
There is one big advantage of doing so. You will be able to check all the files by the formats. For example, if you want to delete documents, you can delete the corresponding folder. Similarly, if you want to check the photos, you can open the JPG or PNG folder.
Let’s say you have 10 .docx files, 10 PNG images, and 10 .txt files in one folder. If so, you will be able to create three folders containing similar files of the same extensions in each folder with the help of this code. All you need is to create a BAT file to run via Command Prompt on your Windows 11 or Windows 10 PC. No matter how many files you have or how many file extensions, all will be categorized within moments.
Before getting started, you must consolidate all the files in one folder. You will have to run the BAT file in that specific folder only. Following that, it will create different sub-folders according to the type of files.
How to sort Files by Extension into separate Folder in Windows 11/10
To sort files by extension into separate Folder in Windows 11/10, follow these steps:
- Open Notepad on your computer.
- Paste the following code.
- Click on File > Save As.
- Select a path where you want to save.
- Enter a name with .bat extension.
- Select All Files from the Save as type menu.
- Click the Save button.
- Move the .bat file to the specific folder.
- Double-click on the .bat file.
To learn more about these steps, continue reading.
First, you need to open a text editor. For this purpose, we are going to use the Notepad. Therefore, open Notepad on your computer and paste the following code:
@echo off

for %%a in (".*") do (
if "%%~xa" NEQ "" if "%%~dpxa" NEQ "%~dpx0" (
if not exist "%%~xa" mkdir "%%~xa" (
move "%%a" "%%~dpa%%~xa"
)
)
)
Click on the File menu and choose the Save As option.
Then, select a path where you want to save the file and enter a name with .bat extension.
After that, choose the All Files option from the Save as type drop-down list and click the Save button.
Once done, move the .bat file to the specific folder you created earlier, where you placed all the files of different extensions. Then, double-click on the BAT file.
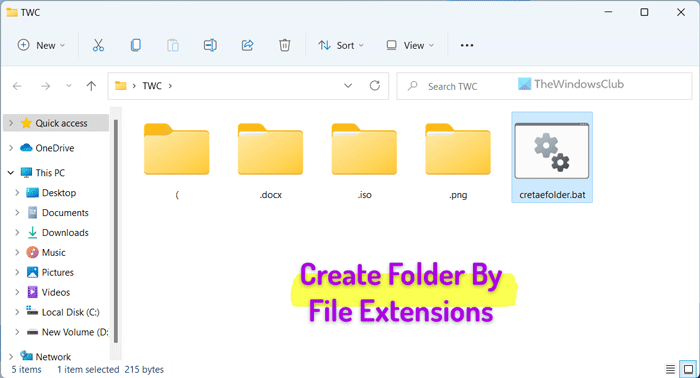
Next, you can see some sub-folders according to the file extensions or formats.
How do I create multiple folders in Windows 11?
There are multiple ways to create multiple folders in Windows at once. For example, you can use the Command Prompt method, Windows PowerShell, third-party app. If you have Excel on your PC, you can use Excel to create multiple folders at once. The best thing is that you can use different names instead of the same name with copy tag in the end.
How do I make file extensions visible in Windows 11?
To make the file extensions visible in Windows 11, you need to use the File Explorer Options panel. Open it and switch to the View tab. Find the Hide extensions for known file types setting and remove the tick from the checkbox. Finally, click the OK button to save the change.
That’s all! Hope this guide helped.
Read: How to delete Files older than X days in Windows 11/10.

[ad_2]
Source link
www.thewindowsclub.com

