[ad_1]
In this post, we will show you how to use ShellExView to view & disable Shell Extensions on a Windows 11/10 PC. Shell Extensions are COM objects that extend the capabilities of Windows Shell (Explorer).

There are several different types of shell extensions in Windows. For example, there are Shortcut menu handlers that add items to the context menu of an application, Drop handlers that allow files to become drop targets for other files, and Icon handlers that help you change a file’s default icon and dynamically assign icons to file objects.
While most shell extensions are part of the Windows operating system, some are often installed via third-party software. ShellExView is a free tool that displays the details of the shell extensions installed on a Windows PC and provides options to enable or disable those extensions.
How to use ShellExView on Windows 11/10
When you install third-party applications, multiple shell extensions accumulate on your Windows PC. These shell extensions can cause the Explorer to crash during certain events or cause slow right-click issues and other context menu problems in Windows. ShellExView can identify the problematic shell extension and help you effortlessly disable extensions to troubleshoot Windows issues.
Here’s how you may use ShellExView to view & disable Shell Extensions on a Windows 11 PC:
1] Download and Run ShellExView

To download this freeware, visit nirsoft.net and scroll down to the bottom of the page until you see the download links. You can download ShellExView in a ZIP file or simply download the executable.
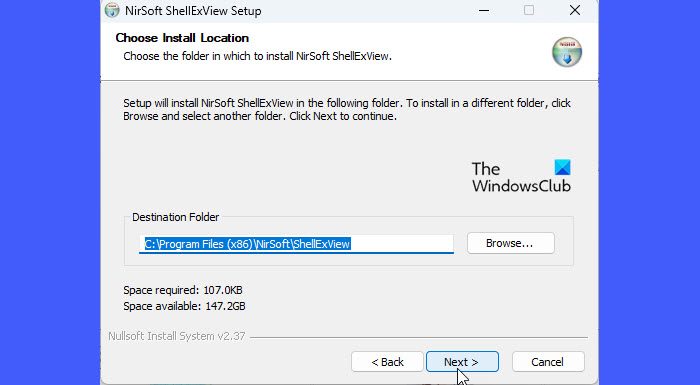
The ZIP file contains a standalone executable that doesn’t require installation. You may keep the file at a desired location in your C drive and double-click on the executable to run the program. However, if you download the self-install executable, you need to run the setup file to install ShellExView on your Windows PC. Once installed, you can use Windows Search to locate and run the program.
Tip: Download the self-install executable. It is easier to uninstall a program instead of manually removing an application in Windows.
2] View Shell Extensions

When you run the program, a large number of Windows shell extensions will show up in a tabular format. Each column in the table lists some information about the extension, such as its Name, Type (ShellExView displays more than 10 types of shell extensions), Version No., Status (disabled or enabled), File Size (the size of the shell extension file in bytes), etc.
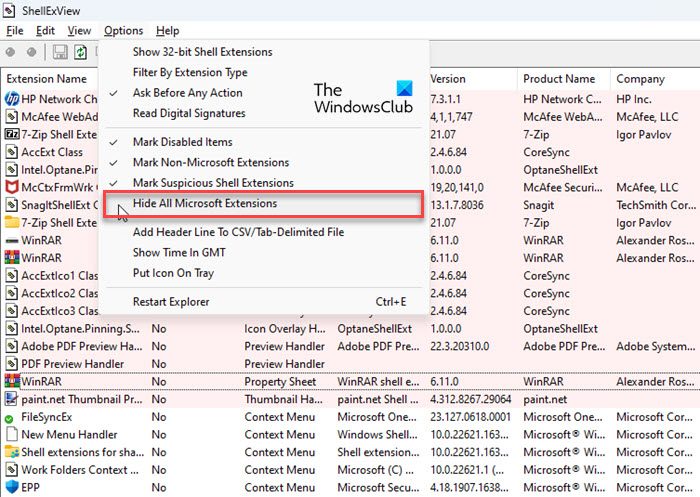
While ShellExView already marks non-Microsoft shell extensions in pink color, you can hide the built-in (Microsoft) extensions from the view for easier management or manipulation of the extensions. Click on the Options menu on top of the ShellExView window and select the Hide All Microsoft Extensions option.
3] Disable Shell Extensions

Now as you have all third-party shell extensions in view, you can disable these extensions to solve various issues.
For example, if your context menu is taking longer than usual to load, you can speed it up by disabling shell extensions using ShellExView. This removes additional items from the context menu of a file and makes it load faster. To do so, you can click on the Type column to sort the list of extensions. Then navigate to the Context Menu shell extensions. You can look for the app’s icon on the left to locate the particular application that has created the menu or use the trial-and-error method if you’re not sure which third-party extension is slowing down your Explorer’s right-click menu. You can disable shell extensions one by one or divide them into batches and then use the trial-and-error method if you have a lot of third-party extensions installed on your system.
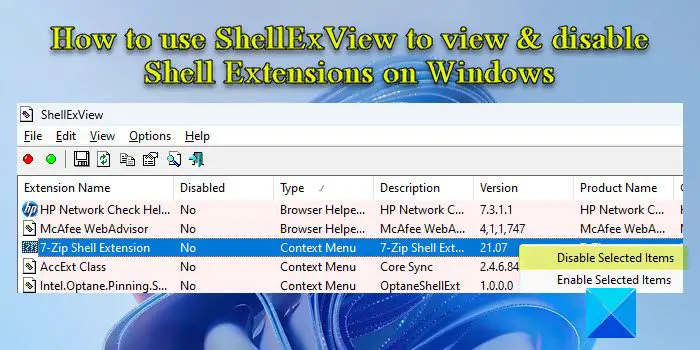
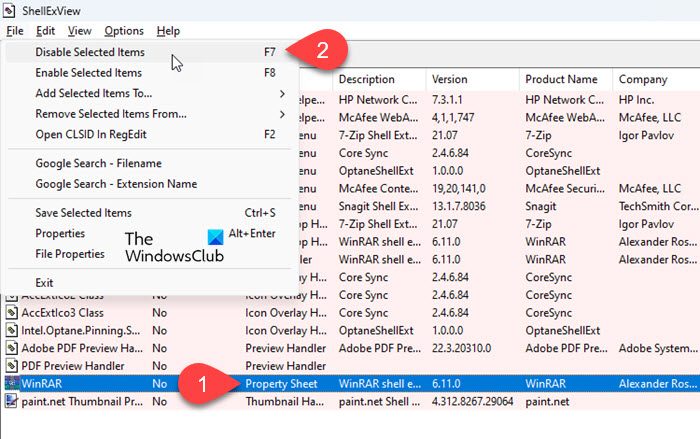
To disable an extension, select its record in the table. Then either click on the File menu and select Disable Selected Items or right-click on the extension record and select Disable Selected Items. You can also press the F7 key to disable the extension.
To re-enable the extension, select Enable Selected Items from the File menu of ShellExView or the right-click menu of the extension or press the F8 key.
This tool can be used for solving context-menu problems in Explorer environment like:
This is how you can use ShellExView to view & disable Shell Extensions on Windows. The free tool offers to do a lot of other things too.
Read: Add, Remove, Edit Context Menu items in Windows
How do I remove shell extensions?
ShellExView is a free tool that displays the details of all shell extensions installed on your Windows PC and lets you disable or enable desired extensions. You can download and run the stand-alone executable of ShellExView and select the extension from the list of components that show up. Then press F7 to disable the extension.
What is shell extension in Windows?
Shell extensions are like individual plug-ins that extend the usual set of actions that can be performed while working with File Explorer or other Windows applications such as Dropbox, WinRAR, etc. Depending on their ‘type’, shell extensions can be used to add a new column to the Details view of the Explorer window, copy files/objects to the clipboard, control the ‘drop’ behavior of files, etc.
Read Next: What is ShellExperienceHost.exe or Windows Shell Experience Host?

[ad_2]
Source link
www.thewindowsclub.com