![We found errors in your File History settings [Fixed]](https://upgradedtamilan.com/wp-content/uploads/2022/10/error-in-file-history.png "We found errors in your File History settings [Fixed]")
[ad_1]
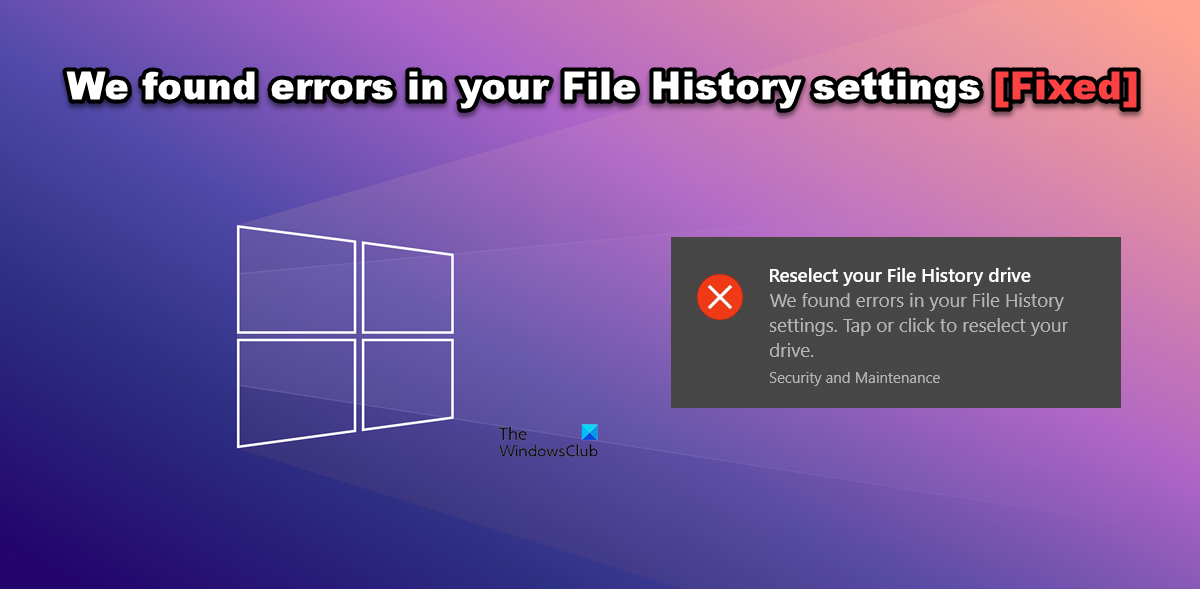
When some users tried selecting the drive they were using to store their File History, an error popped up stopping them from accessing that drive. The error said – Reselect your File History driver, We found errors in your File History settings, Tap or click to reselect your drive. If you face this issue, this post will help you.

Fix We found errors in your File History settings
If you see Reselect your File History driver, We found errors in your File History settings, follow the solutions to resolve the issue.
- Restart or Start File History Service
- Disconnect and reconnect the drive
- Repair the drive using CHKDSK
- Reselect your drive
- Restart File History
- Reset File History
Let us talk about them in detail.
1] Restart or Start File History Service

The very first thing you should do as soon as you see the error is to start or restart the File History Service. If the service is stopped, there is no way, the backup would work on your system. And restarting will do the trick for you if your issue is a result of some kind of glitch and since we are restarting, it will allow the service to regain its ground and retry doing its job. To do the same, follow the prescribed steps.
- Open the Services app from the Start Menu.
- Look for File History Service.
- Right-click on it and select Properties.
- If it is stopped, you need to click on the Start button and it will be resumed.
- In case the service is working, click on Stop and then restart it.
Hopefully, your issue will be resolved this time.
2] Disconnect and reconnect the drive
If there is an external drive that’s giving you trouble, then one of the things you can do is disconnect and then reconnect the drive. If there is some kind of glitch that’s causing this issue, reconnecting the drive will do the job for you.
3] Repair the drive using the CHKDSK command

You may also see the error message if the error message popped up because of the corrupted disk. There are various reasons that could corrupt the disk, but there is also one tried and tested solution that you can try to repair the disk. To do the same, we will be deploying the Check Disk command. So, open Command Prompt as an administrator by searching it out from the Start Menu and then run the following command.
chkdsk <drive_letter>: /f
Note: Replace <drive_letter> with the actual letter of the drive you want to repair.
You will be asked to confirm your action, so, hit Y to continue. Once the command is executed, your disk will be repaired and hopefully, your issue will be resolved.
4] Reselect your drive

If the error message reappears, you should tap or click on the error message and then click on the Select device button from the right panel. Then select the device you want to use and click on Ok. If you missed the notification, just hit Win + S, type “File History” and hit enter, you will see an option called Select device. Hopefully, this will do the trick for you.
5] Restart File History

Next up, we need to restart the File History as that will allow the related service to start again and resolve the issue for you. To do the same, you need to follow the prescribed steps.
- Connect the external device.
- Search out “File History” from the Start menu.
- Click on the Turn off button.
- Now, click on the Turn on button to restart the service.
Hopefully, this will do the trick for you.
6] Reset File History

If all else fails, then your last resort is to reset the File History. In order to do the same, we need to delete some files. Keep in mind that you should do this if nothing worked. To do the same, first, you need to make sure that File History is turned off. So, search out “File History” from the Start Menu and see if it is disabled, if not, you should click on the Turn off button. Once File History is disabled, open File Explorer and navigate to the following location.
%UserProfile%AppDataLocalMicrosoftWindowsFileHistory
Select all the folders and then hit Delete. Now, start File History again. This will do the trick for you.
We hope that you are able to resolve the issue using the solutions mentioned in this post.
Also Read: Turn on and Use File History to Backup, and Restore files in Windows
What does we found errors in your File history mean?
If there is an issue with the File History, it will not backup the files, and show the error in question as a notification. In that case, you can tap on the message to probe more. Usually, this is a result of some sort of glitch or files being corrupted. If you have encountered such an error, go to the solution mentioned in this post and resolve the issue. Make sure to start executing from the first solution and your issue will be resolved easily.
Read: Your File History drive was disconnected for too long; Reconnect your drive
How do I reset File History settings?
All the changes that you have made to File History are stored in the Configuration folder. In order to reset the settings, you have to delete all the files from that very folder. To do the same, first, turn off File History, just search out “File History” from Start and click on the Turn off button. Now, open Run, and go to %UserProfile%AppDataLocalMicrosoftWindowsFileHistory/Configuration, select all the files using Ctrl + A, right-click and click on the Delete button. Now, you can turn on the File History and it will back to default.
[ad_2]
Source link
www.thewindowsclub.com