
[ad_1]
This post will show you how to install Waifu Diffusion in Windows 11/10. Waifu diffusion is a tool that can generate anime-style characters using text prompts. It can be used to create anime characters and masterpieces. Keep reading this post to learn how to install it on Windows devices.

Requirements to Install Waifu Diffusion on Windows
- Latest version of Windows 11/10
- 16GB RAM, NVIDIA GTX 7xx series or newer, minimum 2GB VRAM
- Minimum 10 GB Space on Hard Drive
- Python, PyTorch and Git should be installed on your system
How to Install Waifu Diffusion in Windows 11/10?
Before installing Waifu Diffusion on your device, you must install Python, PyTorch and Git. This is because all these are essential to run Waifu Diffusion.
Installing Python on Windows 11/10
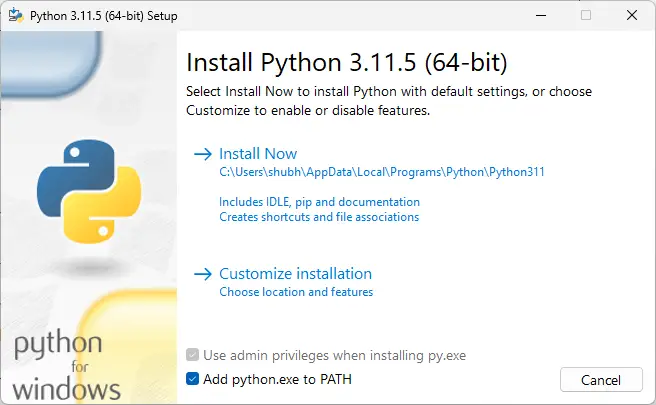
Open the Python website and download the Python installer.
Double-click on the downloaded file to open the installer.
Here, make sure the Add Python.exe to PATH option is selected and then click on Install Now.
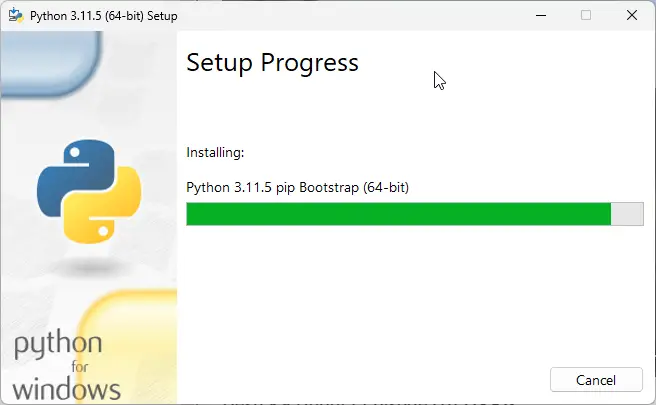
The installer will now start installing Python on your PC.
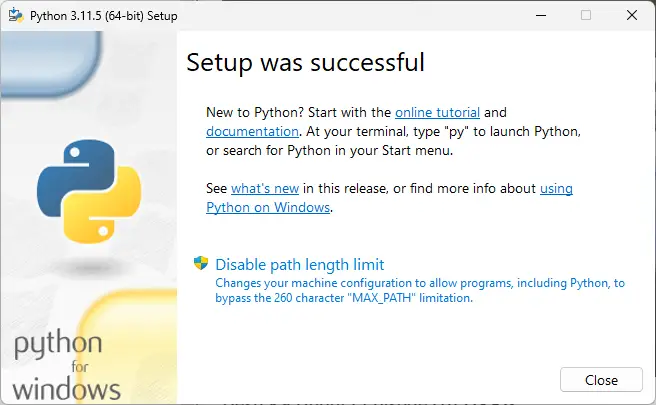
Once the installation is complete, restart your PC, and Python is ready for use.
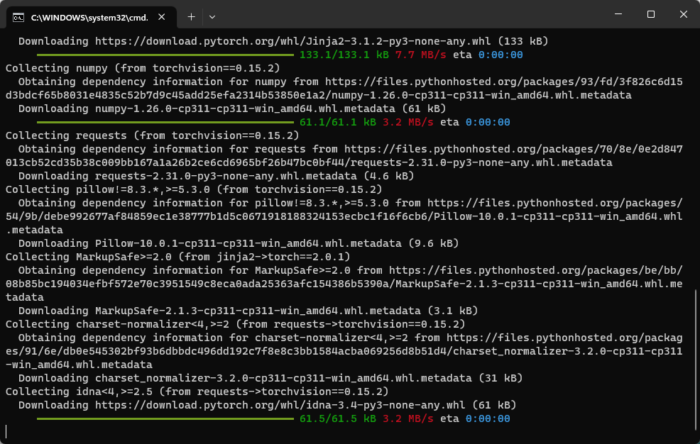
Installing PyTorch on Windows 11/10
Installing PyTorch on Windows can be quite confusing. But don’t worry, we’ve got you covered. Read this post to learn how to install PyTorch on your Windows device.
Installing Git
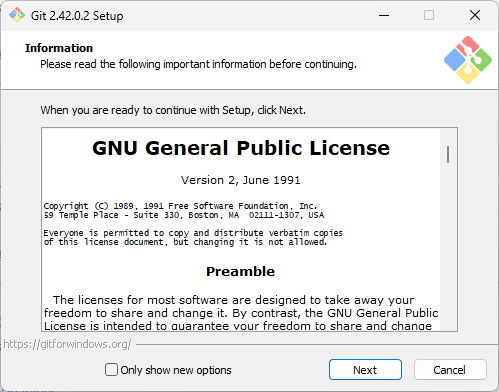
Open Git’s official website, click on 64-bit Git for Windows Setup, and the download procedure will begin—Double-click on the downloaded file to begin the installation.
The setup page will now appear; click on Next to proceed.
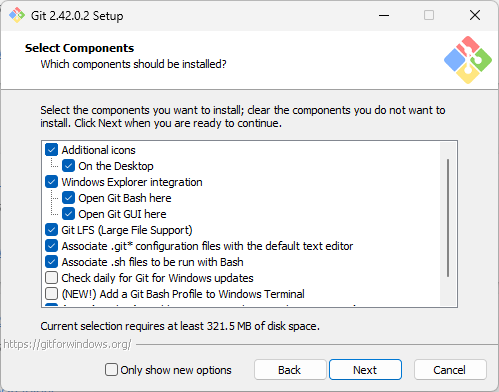
Next, the Select Components page will appear, select the required components and click on Next.
Some more pages will appear asking for more permissions; grant them all and click Next.
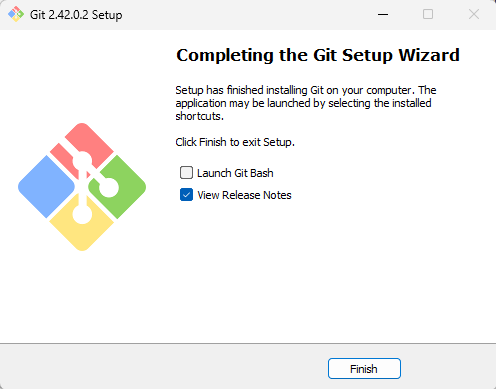
The installation process will now begin. It might take a few minutes to complete.
Installing Waifu Diffusion
Once you’ve installed all the required prerequisites on your device, follow these steps to install Waifu Diffusion on your Windows device:
1. Press the Windows + E combination to open File Explorer and navigate to the Drive where you want to install Waifu Diffusion.
2. In the drive, right-click on any space and click on New > Folder. Name the new folder as stable-diffusion.
3. Open the newly created folder, click on the address bar, type cmd and hit Enter.
4. The Command Prompt will now open; here, we’ll use Git to obtain all the files related to Waifu Diffusion. Run the following command to do so:
git clone https://github.com/AUTOMATIC1111/stable-diffusion-webui.git
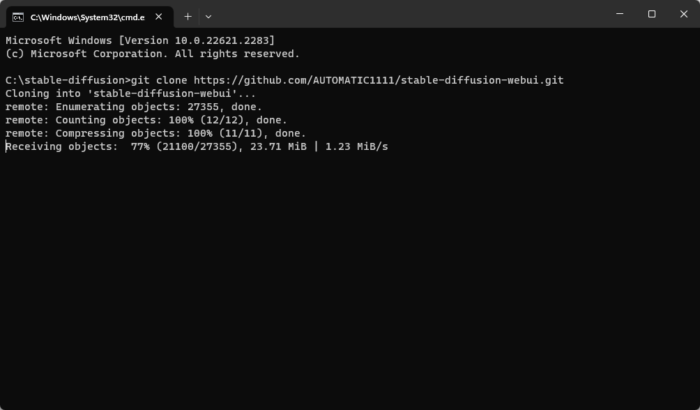
The command will take some time to clone all the files from the repository. Once done, you’ll see all the files required in the stable-diffusion-webui folder that’ll be in the stable-diffusion folder.
5. Next, download the Waifu Diffusion model, rename it as model.ckpt and move it to the following location:
<Drive>\stable-diffusion\stable-diffusion-webui\models\Stable-diffusion

6. Now, we have all the files and prerequisites to run Waifu Diffusion. To do so, navigate to the following path:
<Drive>\stable-diffusion\stable-diffusion-webui
7. Scroll down to the bottom, right-click on the webui-user.bat file and select Show more options > Edit.
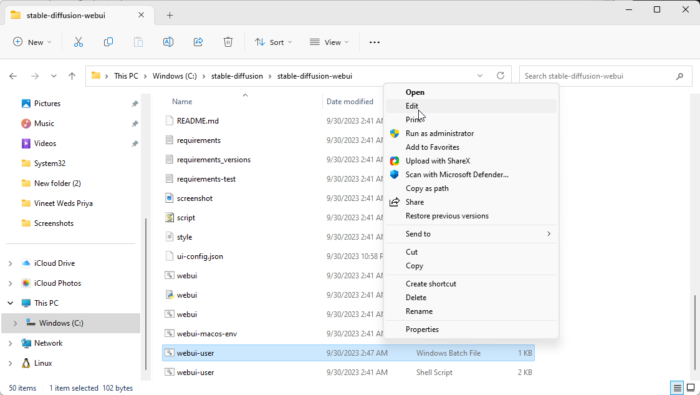
8. This will open up the Notepad; at the file’s top, type git pull and then navigate to File and click on Save to save the changes. Doing so will pull the latest version of Stable Diffusion from the web UI repository every time you launch it.

9. Now, double-click on the webui-user.bat file to launch Waifu Diffusion. The command Prompt will now open, and any required updates and extensions will download and install. This process may take some time, depending on how fast your internet connection is.
10. Once done, Waifu Diffusion will automatically open on your default web browser. Type your Prompt and click on Generate to generate your desired Anime image.
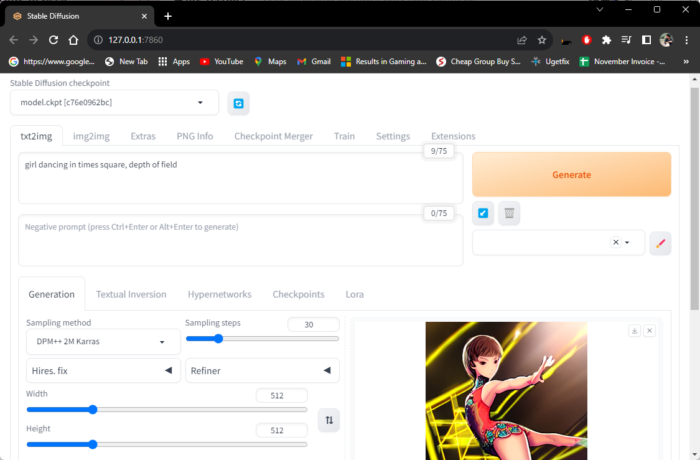
Here are some images we generated using Waifu Diffusion.


Note: Replace <Drive> with the drive in which you created the stable-diffusion folder earlier, wherever required.
Read: Top AI Manga Filters to convert your photos to anime
I hope these suggestions helped you install Waifu Diffusion on your Windows 11/10 device.
What is the use of Waifu Diffusion?
Waifu Diffusion is an application based on the Stable Diffusion model. It is a text-to-image model that can create amazing and impressive anime images. You can do so by entering prompts, and it will create high-quality anime images in a few seconds, depending on the settings.
How do I get started with Waifu diffusion?
To install Waifu Diffusion, you’ll have to install Python, PyTorch and Git. Then download the Waifu Diffusion model, double-click on the webui-user.bat file, and it’ll open Command Prompt to download any updates and extensions. Once done, Waifu Diffusion will open on your default browser.
[ad_2]
Source link
www.thewindowsclub.com