
[ad_1]
It is important to learn how to link InDesign to Word for automatic updates. You may be working on a project, and you need to take a client’s work from Word and place it in an InDesign document. The client may still need to make updates, but you want to design the InDesign document.

Adding the Word content to InDesign as a link instead of just a copy allows you to update the Word document and have it updated in InDesign. Your client does not need to know InDesign to make the project work, and you do not need to keep copying and pasting into the InDesign document. If there is a change of storage location of the Word file, you can always update the location in InDesign.
How to Link InDesign to Word for automatic update automatically
Linking your Word document to InDesign allows for the easy update of InDesign content without having to copy and paste. As you work on two documents, you just need to write in Word and have it updated in InDesign. To link your Word document to InDesign, follow these steps:
- Open and prepare InDesign
- Open and prepare Word
- Save the Word file in a central location
- Enable Linking in InDesign
- Place the content in InDesign
- Edit the Word file and Update it in InDesign
1] Open and prepare InDesign
To open and prepare InDesign, double-click the icon to open InDesign. You would create a new document and choose the options that you want. You would then create the document, adding the content from your Word file. You would not add the actual Word document content, but you would link the Word file.
Read: How to create interactive buttons in InDesign
2] Open and prepare Word
To open Word, double-click its icon and open the software. With Word open, create the content for the document. You should add the paragraph styles, font types, font sizes, colors, and whatever else you want for the document.
Try to keep the styles in the Word file consistent so that you will have less of this updating in the InDesign document. If you are not the one creating the Word file, but your clients or coworkers are, advise them to keep the styles consistent and make changes to only content.
Read: How to draw Venn diagrams in Word
3] Save the Word file in a central location
Save the file in a central location. Having the file in a central location makes it easier to link and update. The editors can make changes, and InDesign will be able to find the file. Keep the filename the same as updates are made so that the link will be valid in InDesign. The central location allows the editors to make changes and InDesign to keep the link.
4] Enable Linking in InDesign
With the Word file created and saved, it is time to link it to InDesign. To link the Word file into InDesign, you will need to change the Preferences in InDesign.
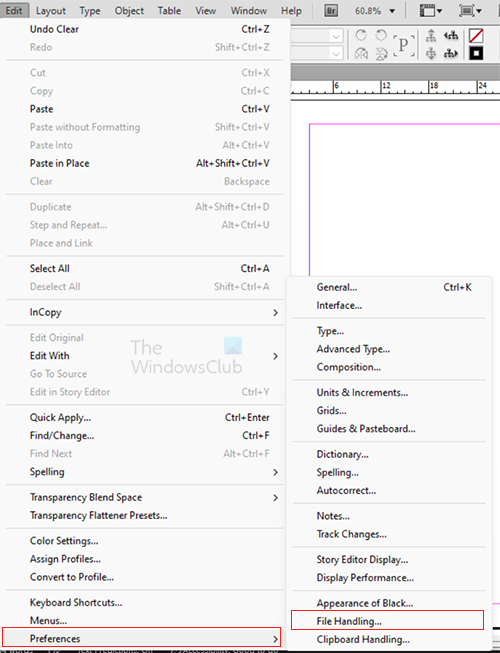
Go to the top menu bar and press Edit, then Preferences, then File Handling.
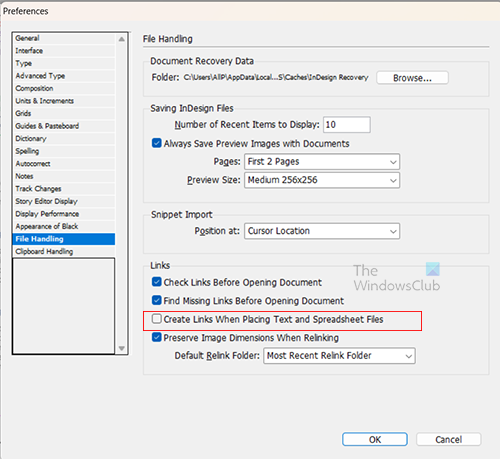
The Preferences options window will appear. Look for the Links heading. Check the Create Link When Placing Text and Spreadsheet Files option. Checking this option will link the InDesign document to the source file whenever you copy and paste it into InDesign.
5] Place the content into InDesign
Now that you have enabled linking the file when you place it in InDesign, you now need to place the file into InDesign. Ensure that you save any changes to the Word file and close it before attempting to place it in InDesign.
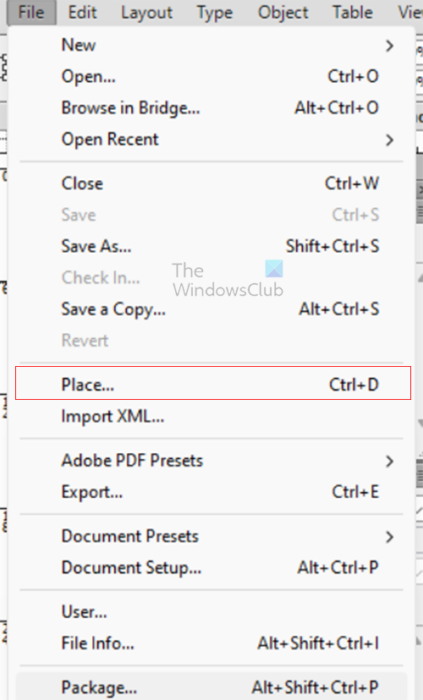
To place the file into InDesign, go to the top menu bar and click File, then Place or press Ctrl + D.
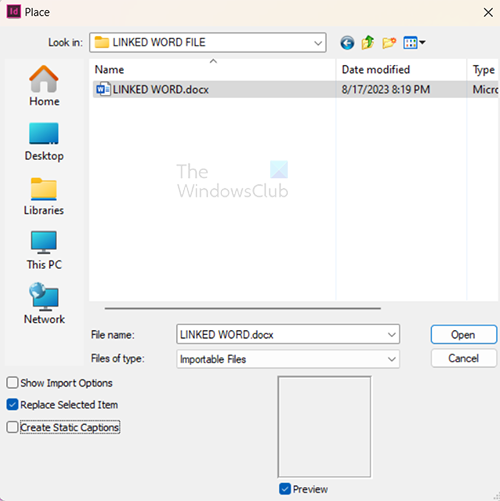
The Place window will open up. Here, please search for the file, select it, then click Open.
The mouse cursor will change to look like a document. Click on the InDesign page to place the document there. If you have fonts in the Word document that are not available in InDesign, you will get a warning. You can allow InDesign to substitute the missing font or change the font in the Word document to a font that is available in InDesign.
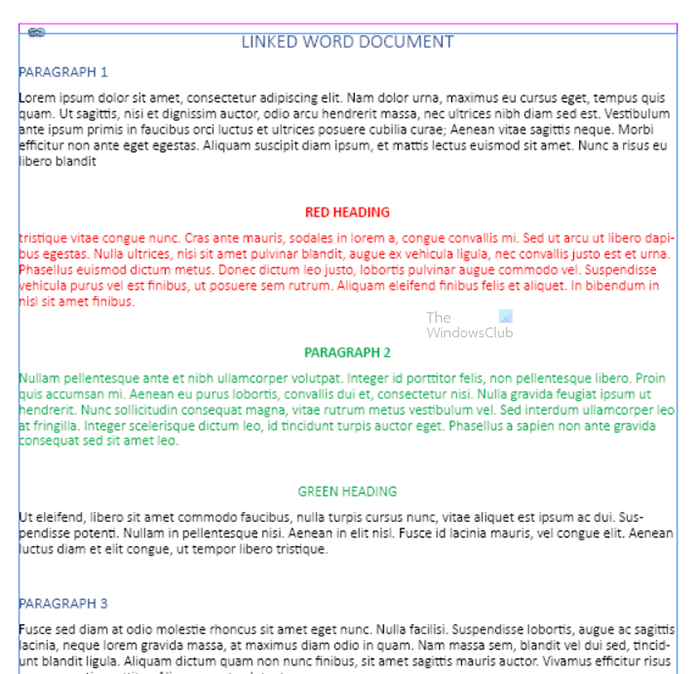
This is the document placed into InDesign. It looks exactly like it is in Word. The linked document came across with all the content and styles from Word. You will see a chain symbol in InDesign around the linked content.
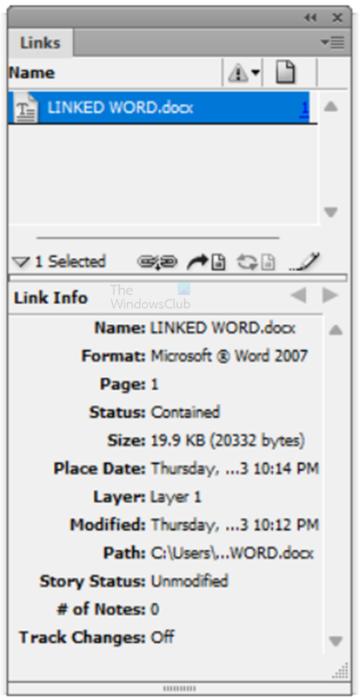
You will also see the document in the Links pallet. You can see the information on the Word file that is linked. You can always click on it there to relink if you changed the original Word file.
6] Edit the Word file and Update it in InDesign
It is now time to test the link, make changes in the Word file then save and come back to InDesign and see what happens.
When you have made changes to the Word document, you will see a yellow warning icon beside the file name in the links pallet and on the document page in InDesign.
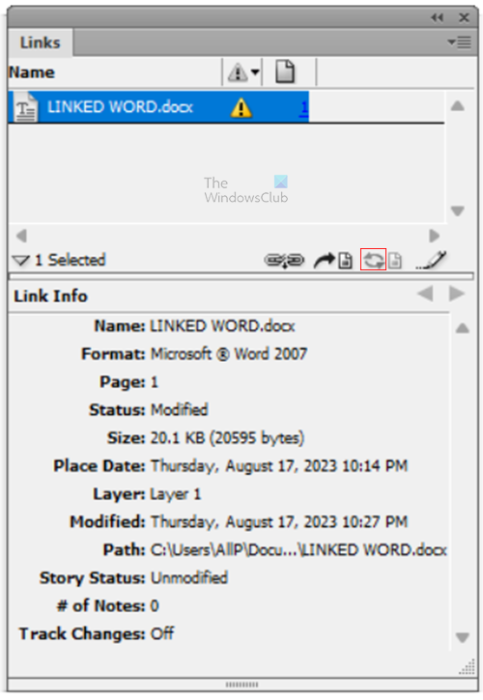
To update the file in InDesign, hold Alt while you click the Update link icon in the Links pallet. If you moved the file, you can click the Chain icon, and you will get the option to search for the new location and relink the Word file.
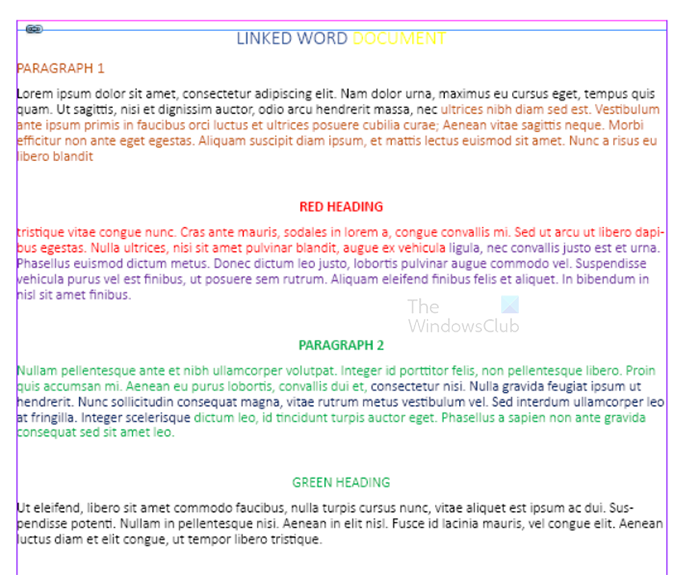
This is the InDesign file with the changes that were made in Word.
If you work on InDesign projects with others, this is a great way to add content that you are not sure if others are finished editing. This way, you can start and even finish the InDesign layout while still allowing others to make changes to the source material. When they make edits, you must make one click to update the InDesign file.
Read: How to Package and Zip InDesign files
How do I link a Word file in InDesign?
It is quite easy to link a Word file in InDesign. You would first need to create the Word file and then save it. You would then open InDesign and enable Create Link When Placing Text and Spreadsheet Files in Preferences under the File Handling tab. When that is done, go to File, then Place, or press Ctrl + D. When the pace window opens, choose the file you want to place and click Open. Your cursor will change into a little document; click on the InDesign document page to place the link on it.
How do I edit an InDesign document in Word?
To edit an InDesign document in Word, you must first save the InDesign document as a PDF. You would then open the PDF file in Acrobat Reader, click Export a PDF, then select Word. You can choose if you want it to be .Doc or .Docx by clicking the drop-down arrow and choosing one.
[ad_2]
Source link
www.thewindowsclub.com